Clay Album Covers
Grades 8-12 (Easily adapted for younger grades as well)
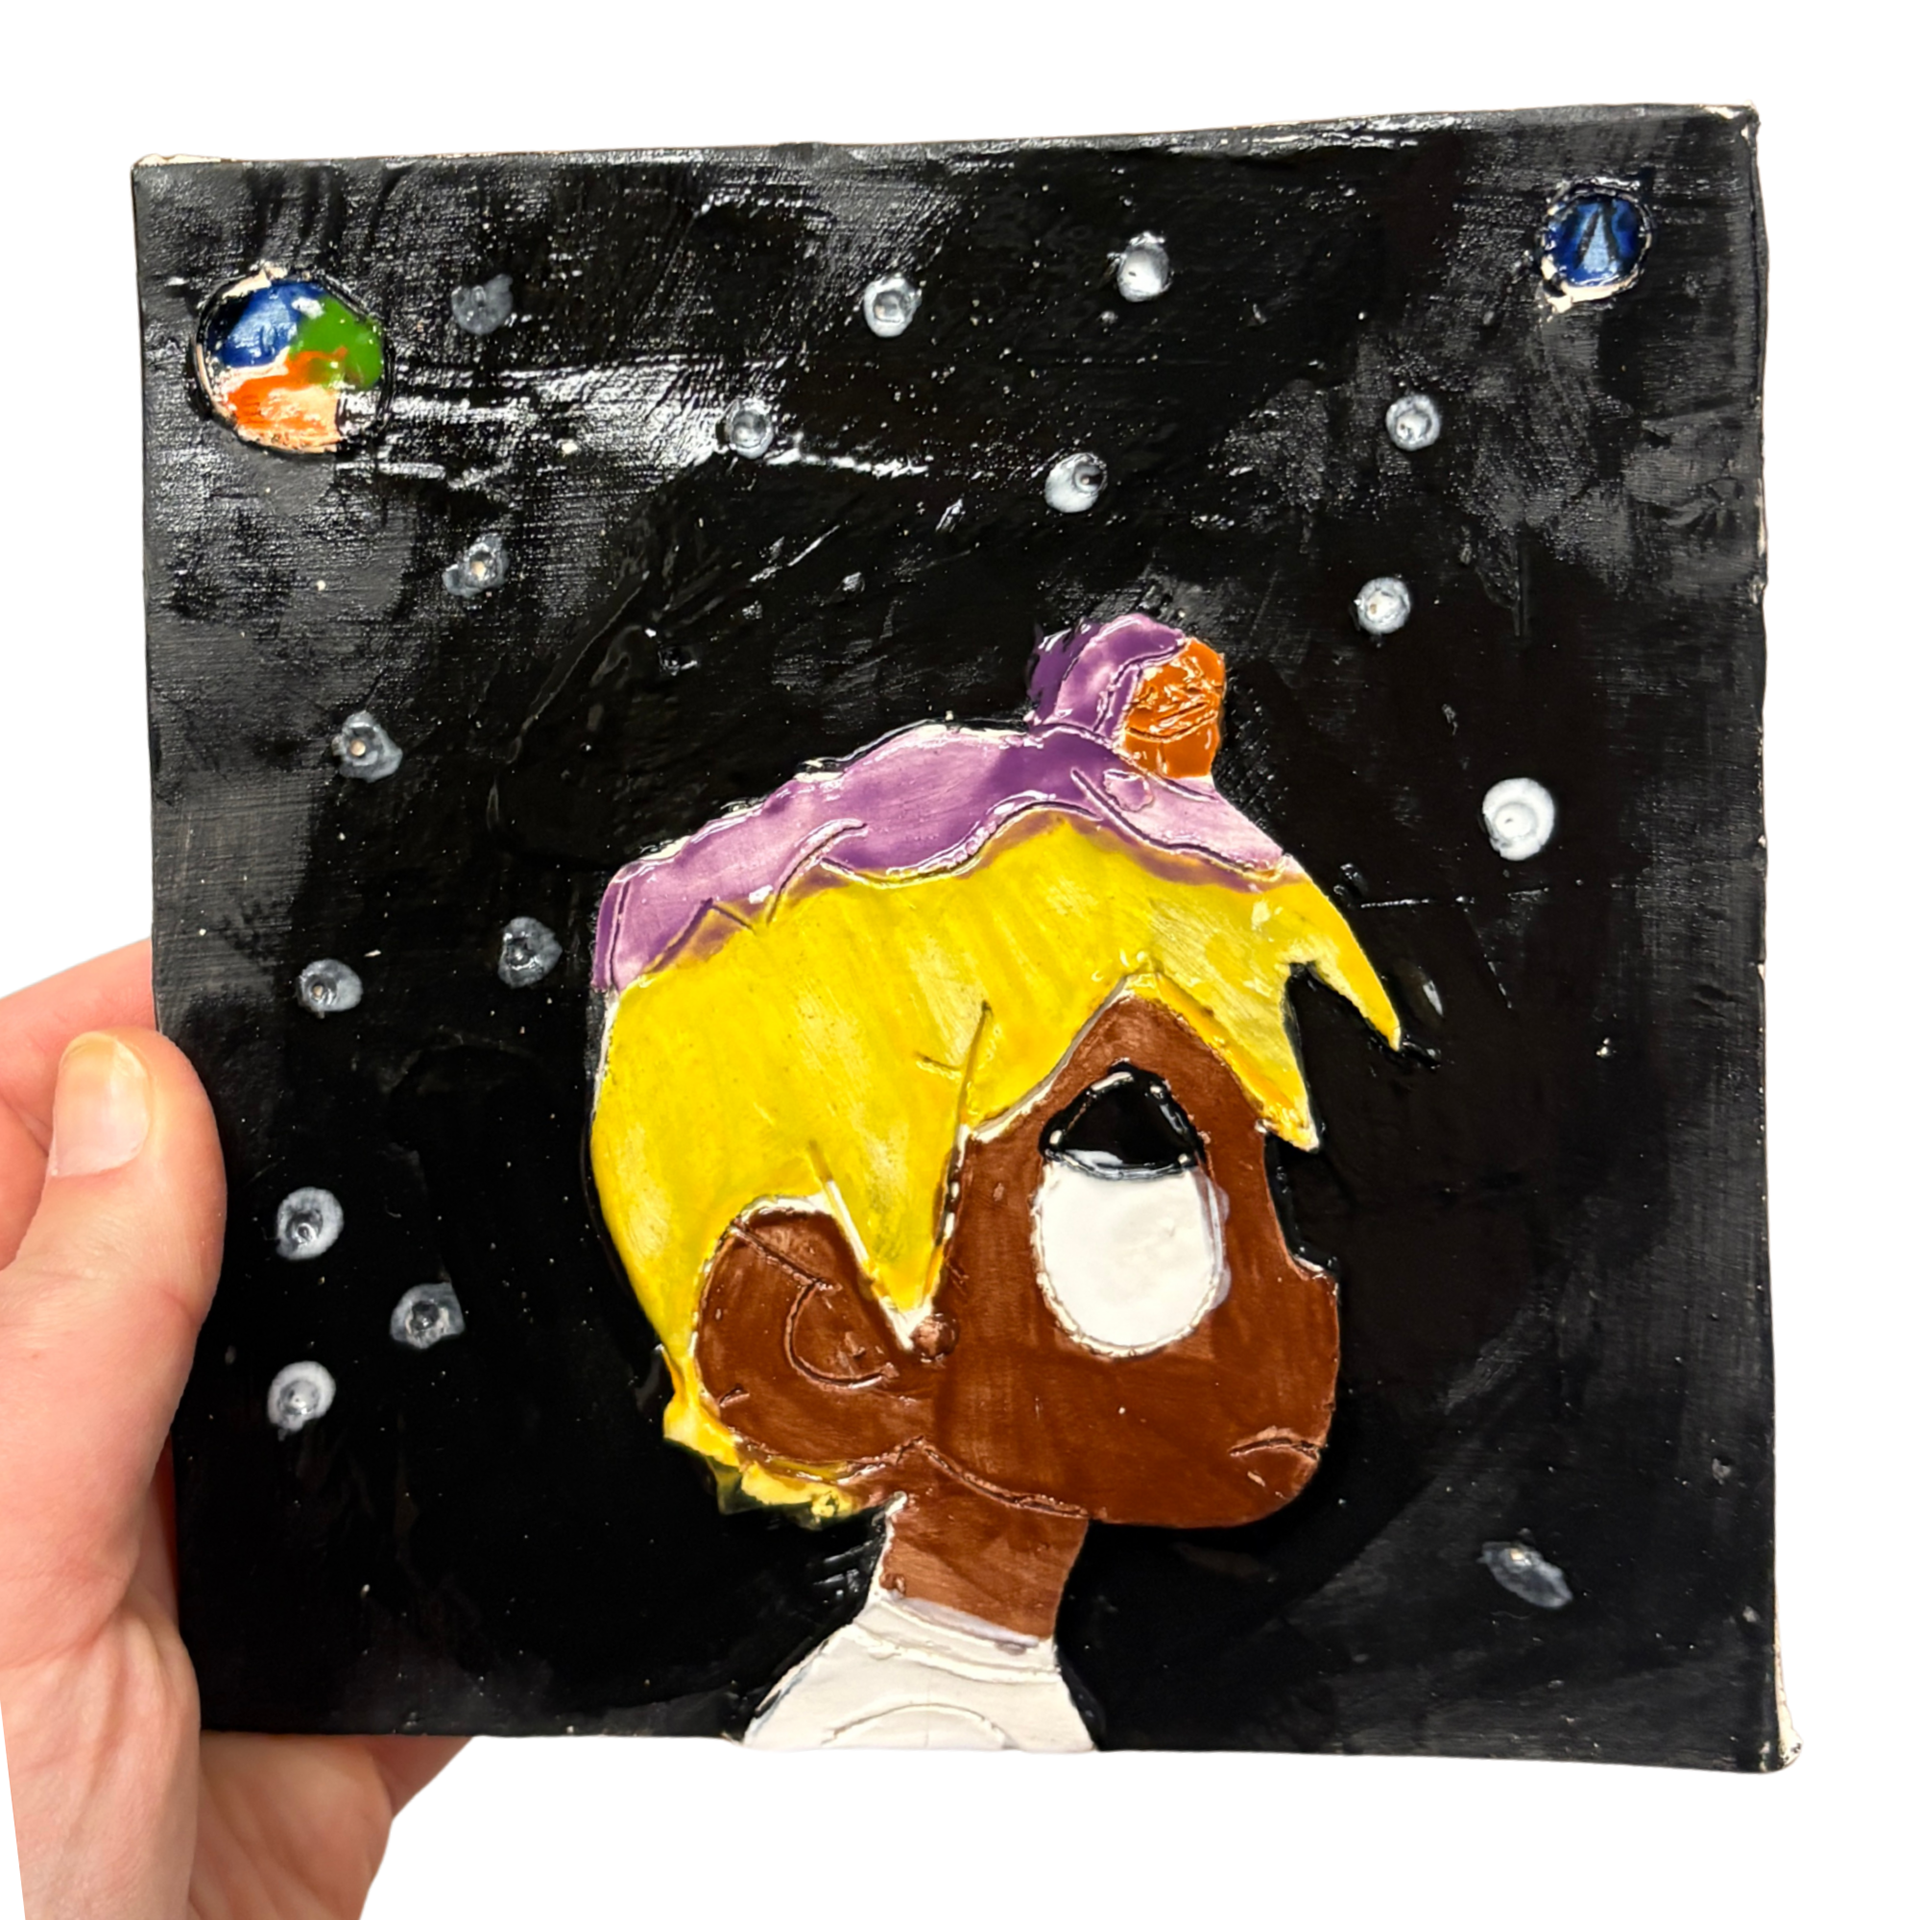
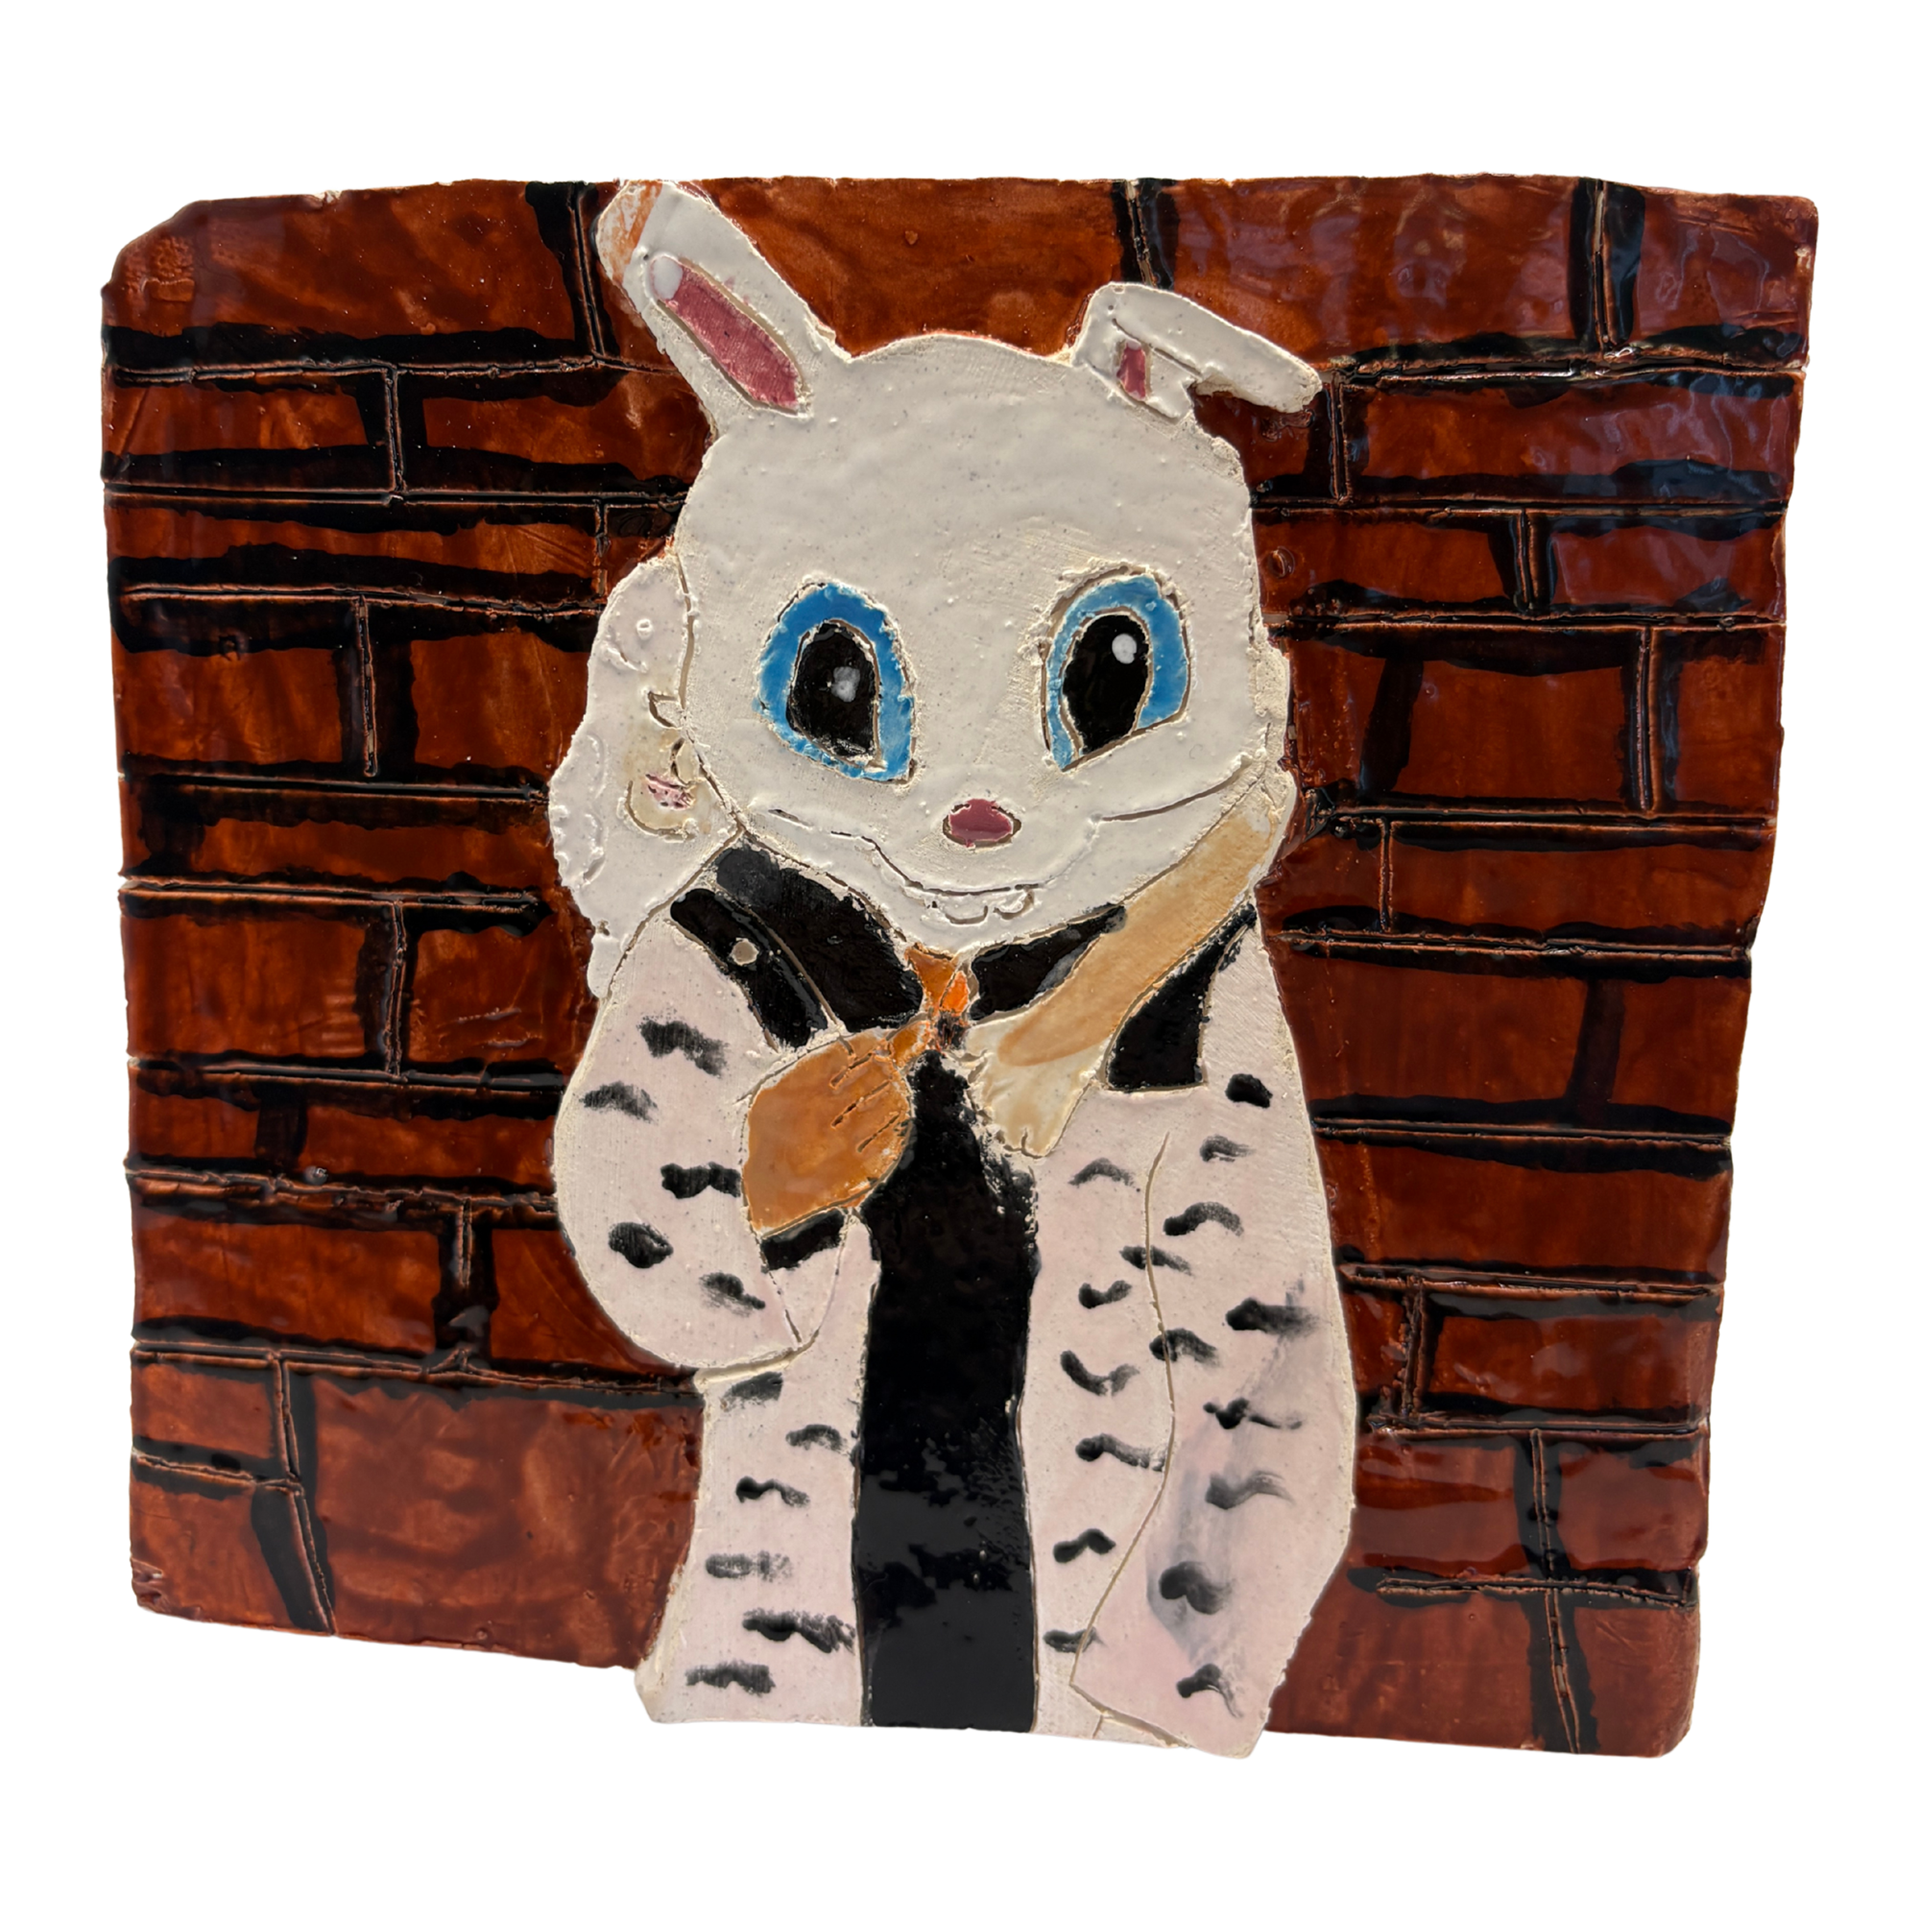
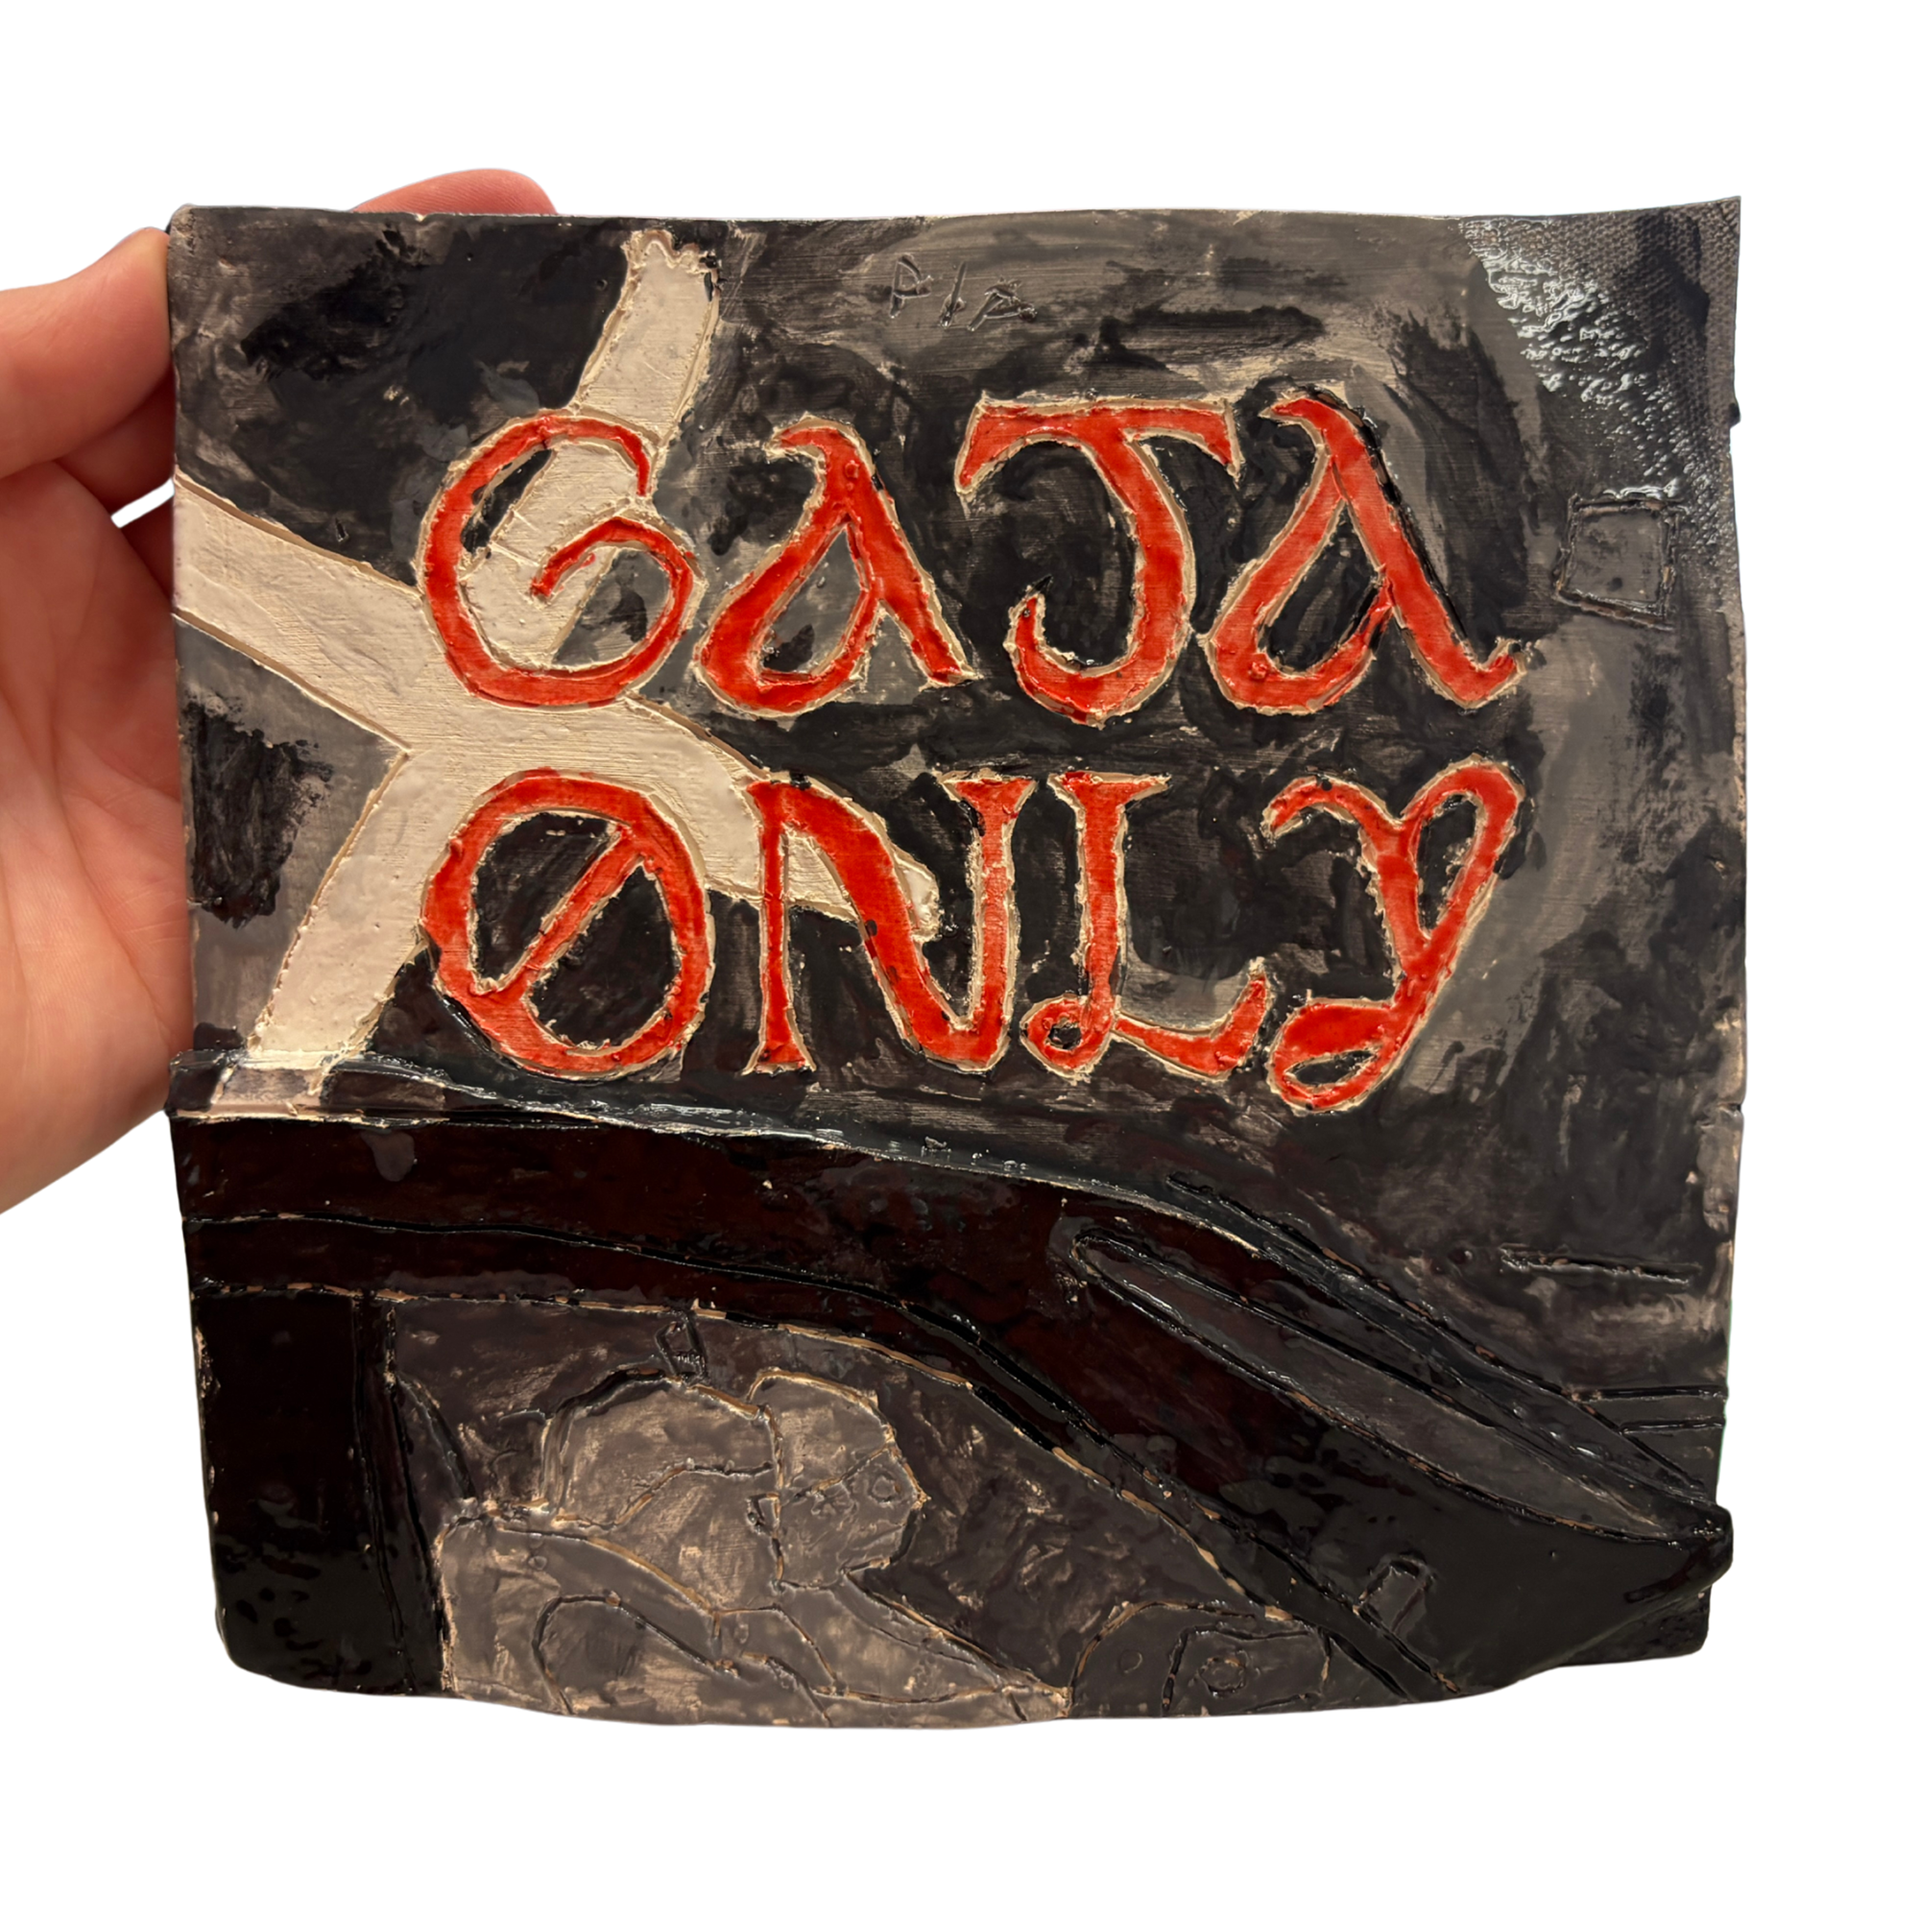
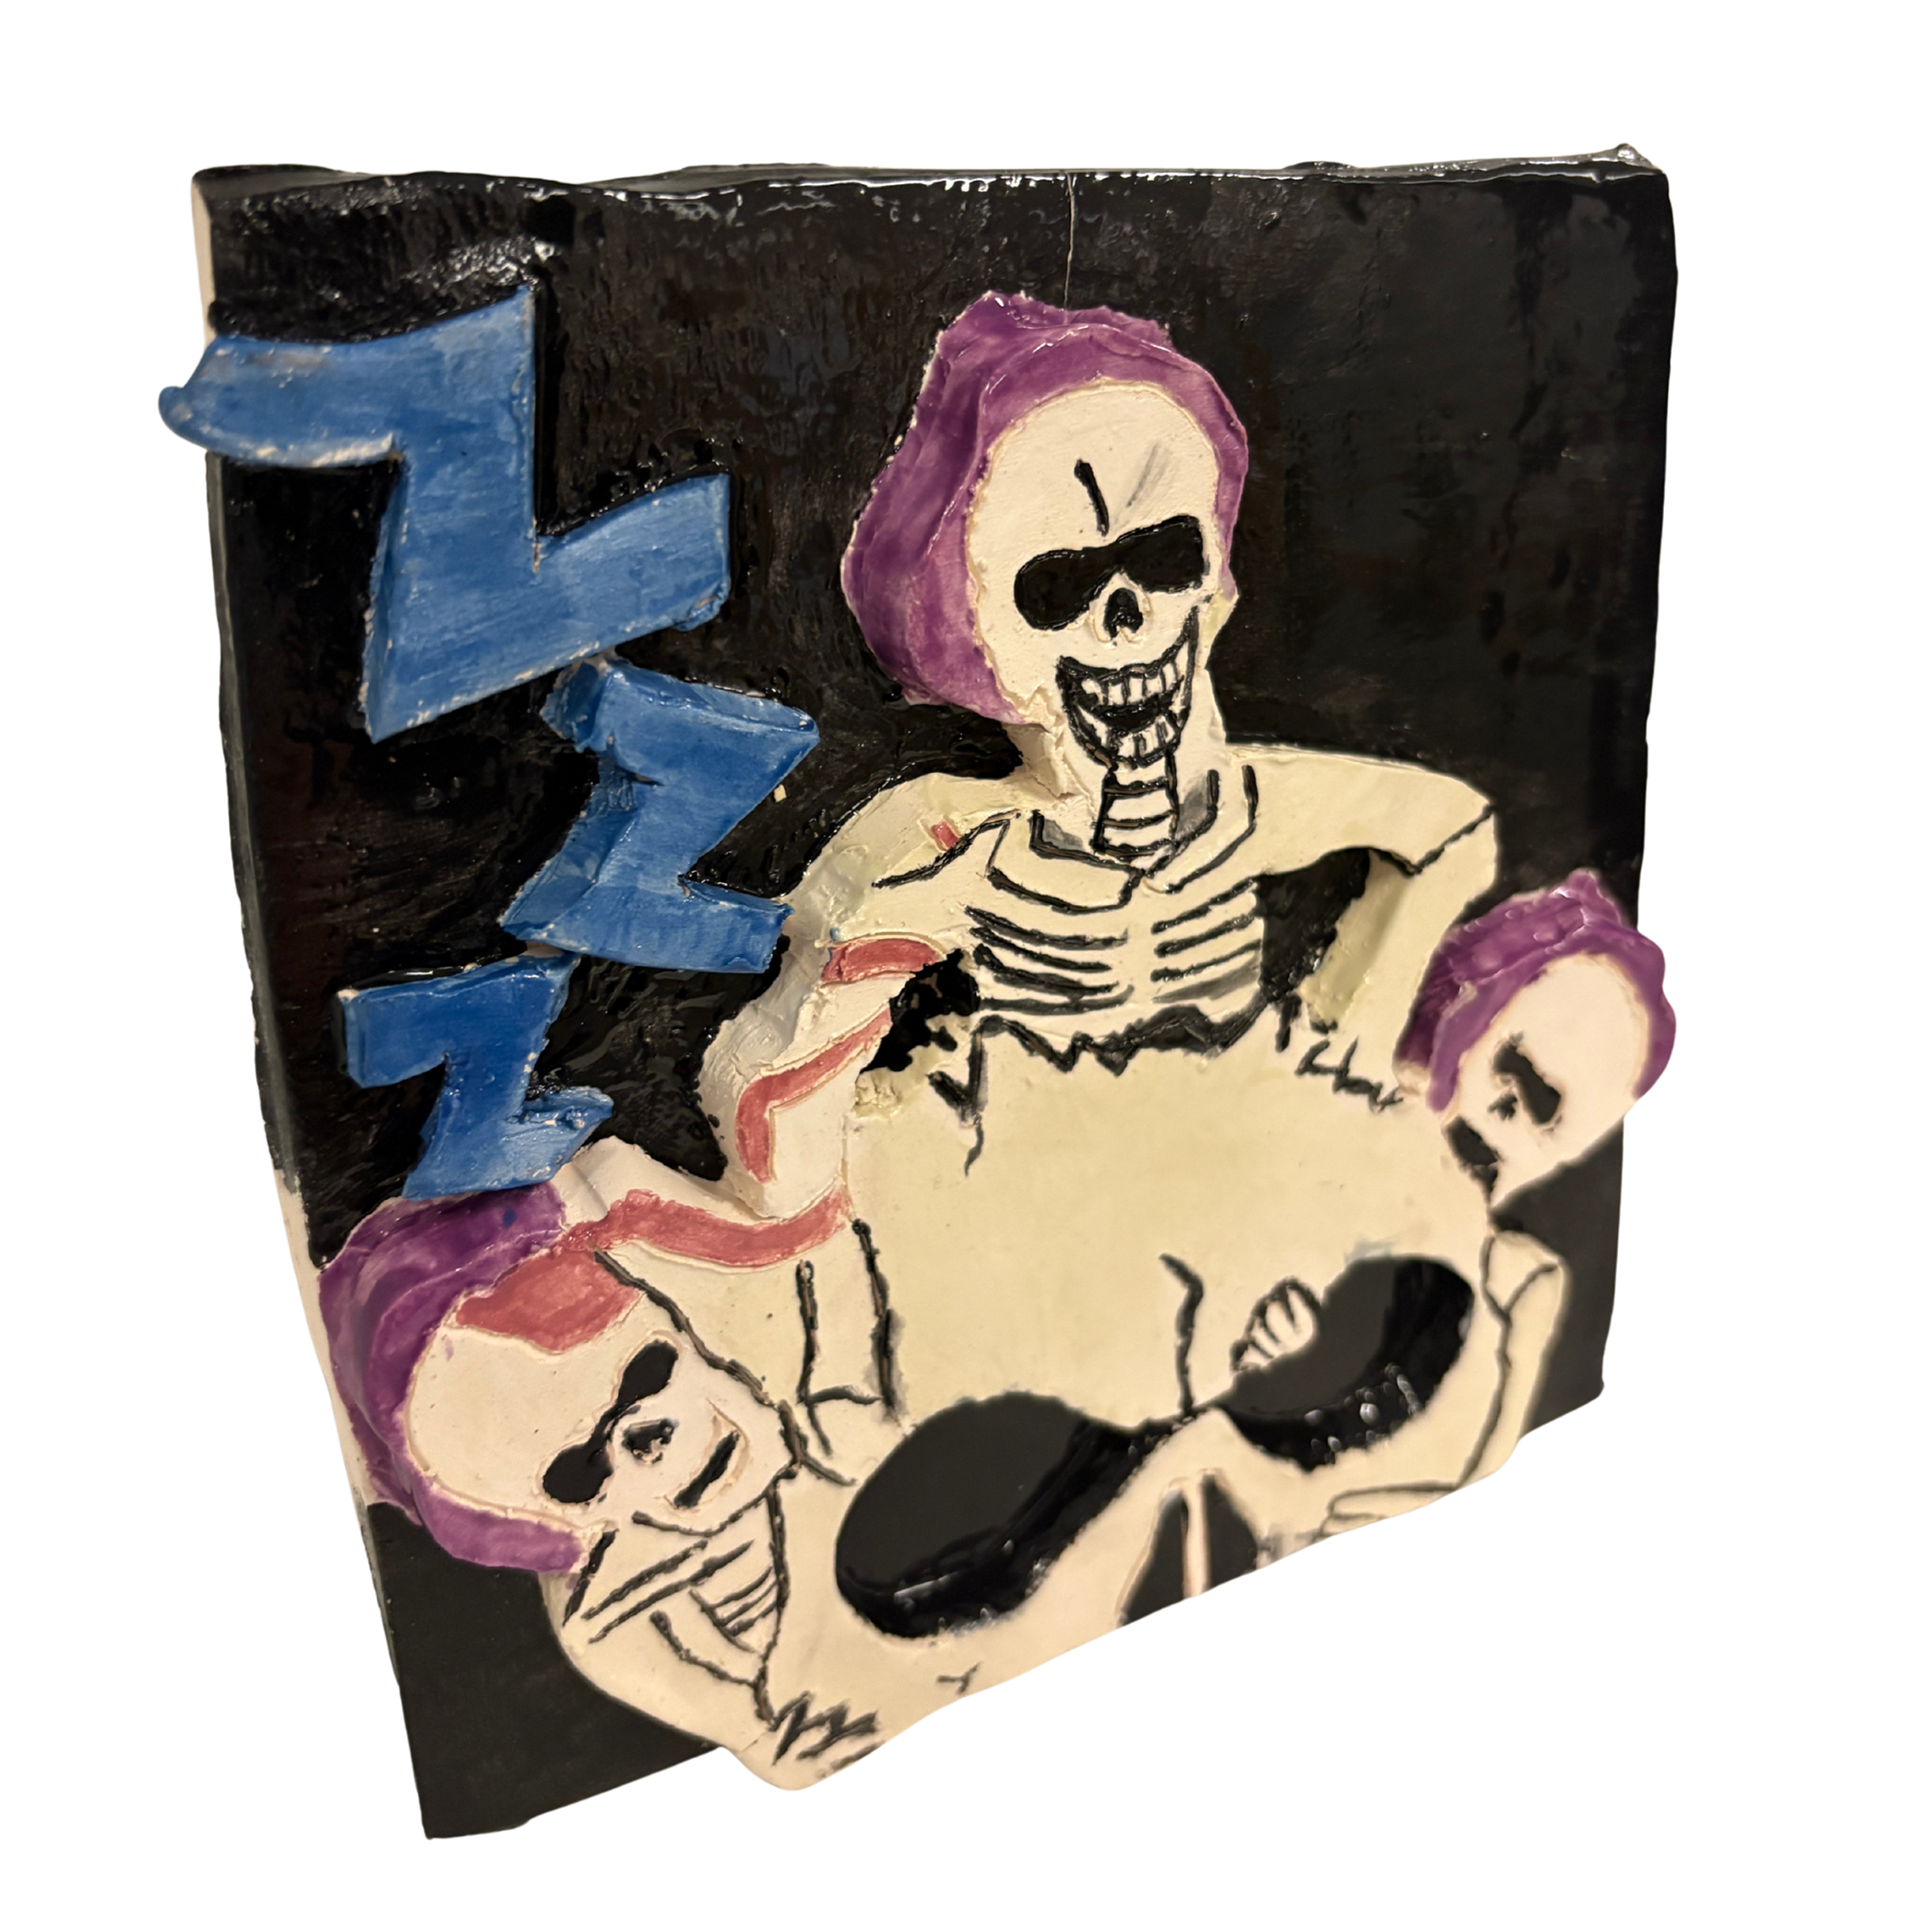
Using a water based marker transfer method, students create relief and additive album covers.
Tools students will need:
- Clay (We use Standard Ceramics 182 with Grog)
- Sculpting tools (wooden tools, knife tools, etc. whatever you have for mark making)
- Rolling pins or a slab roller
- Water based markers (Crayola work, but can miss some details due to size. I ordered these and they worked well.)
- Glaze (we use Mayco Stroke and Coat)
- Sponge
- Water cup and water
First, students email their album cover images to me. They are recommended to choose album covers without faces unless they're up for the challenge of sculpting a portrait. Additionally, album covers must align with our school code of conduct.
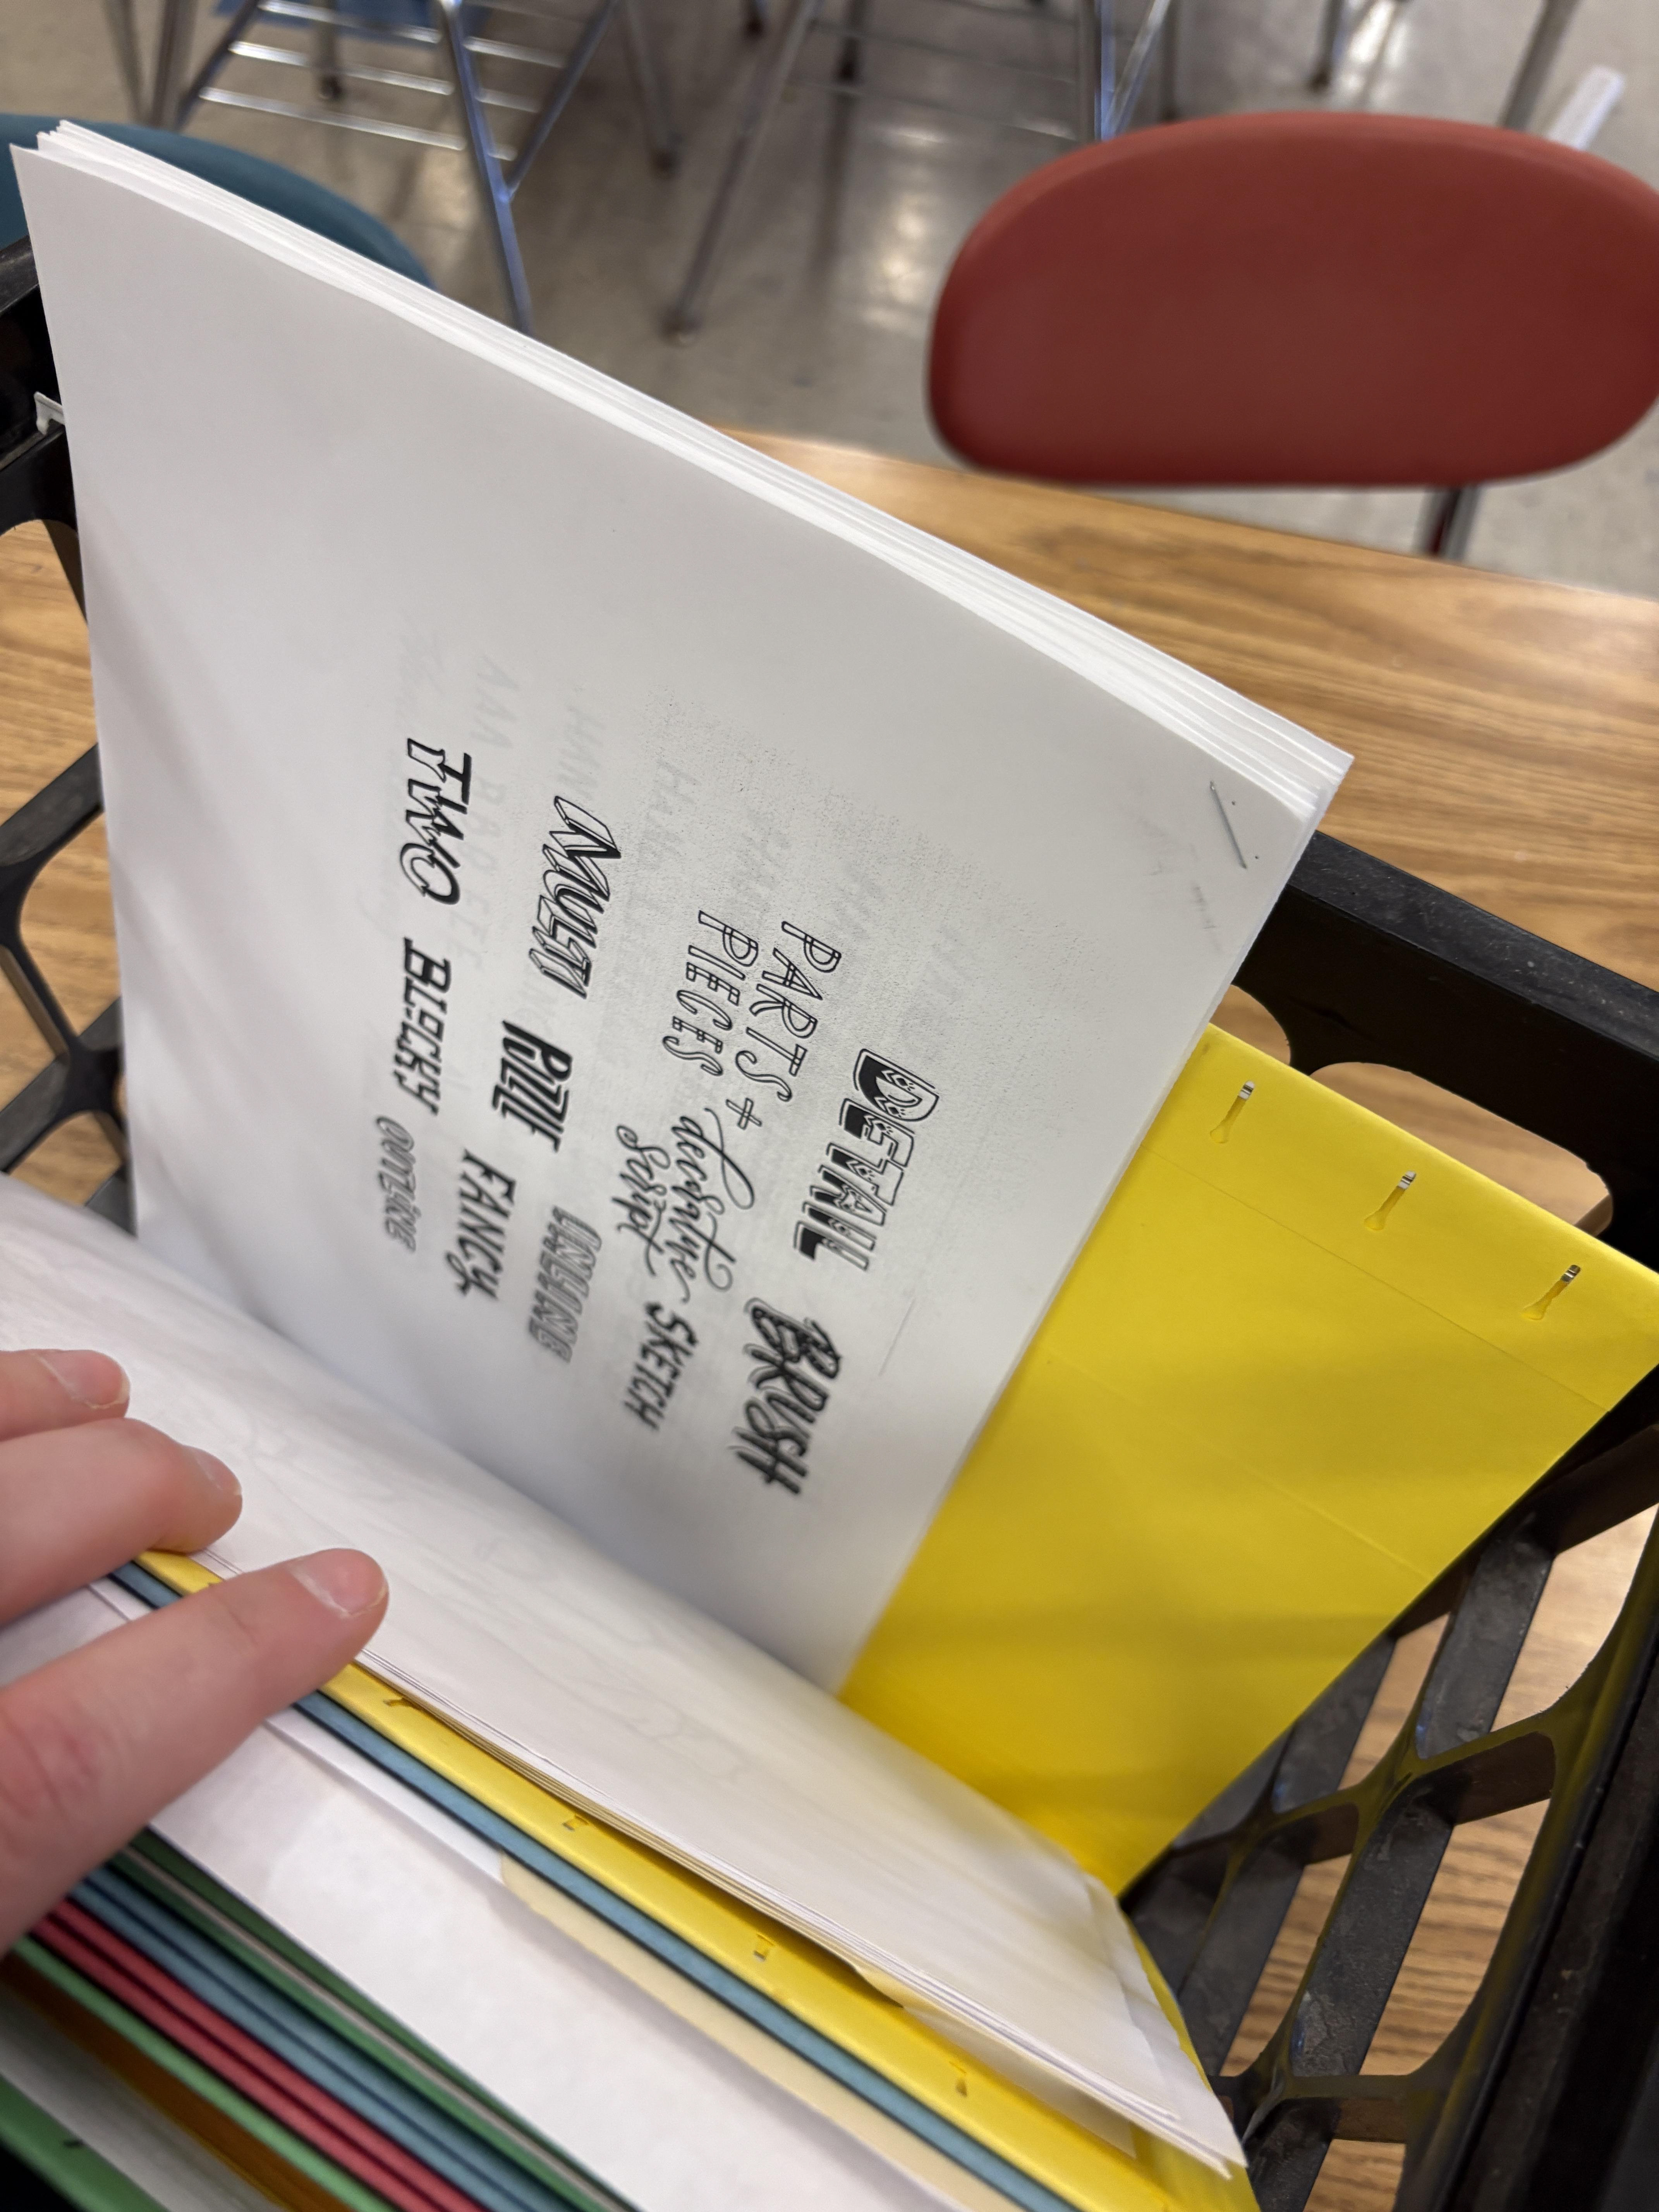
Once students send their albums and they're printed, students use light tables to trace the BACK of their album cover. This ensures the album is not backwards once transferred. I tell students to choose as much detail as they'd like and remind them that they'll have to carve or create whatever they decide. They are welcome to omit things if they'd like. I have them trace two print outs because they usually do not finish all of their carving/cutting in one day and it saves time later.
Students roll a slab the size of their cut out square.
Once traced and slab is rolled, place the cut out of the square on their paper (PRINTER SIDE DOWN, NOT MARKER SIDE) to measure their clay square. Cut out square.
Using a sponge and water, students SLIGHTLY dampen their clay. If there is too much water, the marker will smear. Students then line up their album covers marker side down and place onto their slab. With the sponge slightly damp again, they dab over their printed image to help transfer the marker. Once the whole image has been dabbed, they lift up their album cover and either begin to trace, or transfer again to add their additive pieces. Some students choose to entirely trace and some add pieces of clay to make things three dimensional.
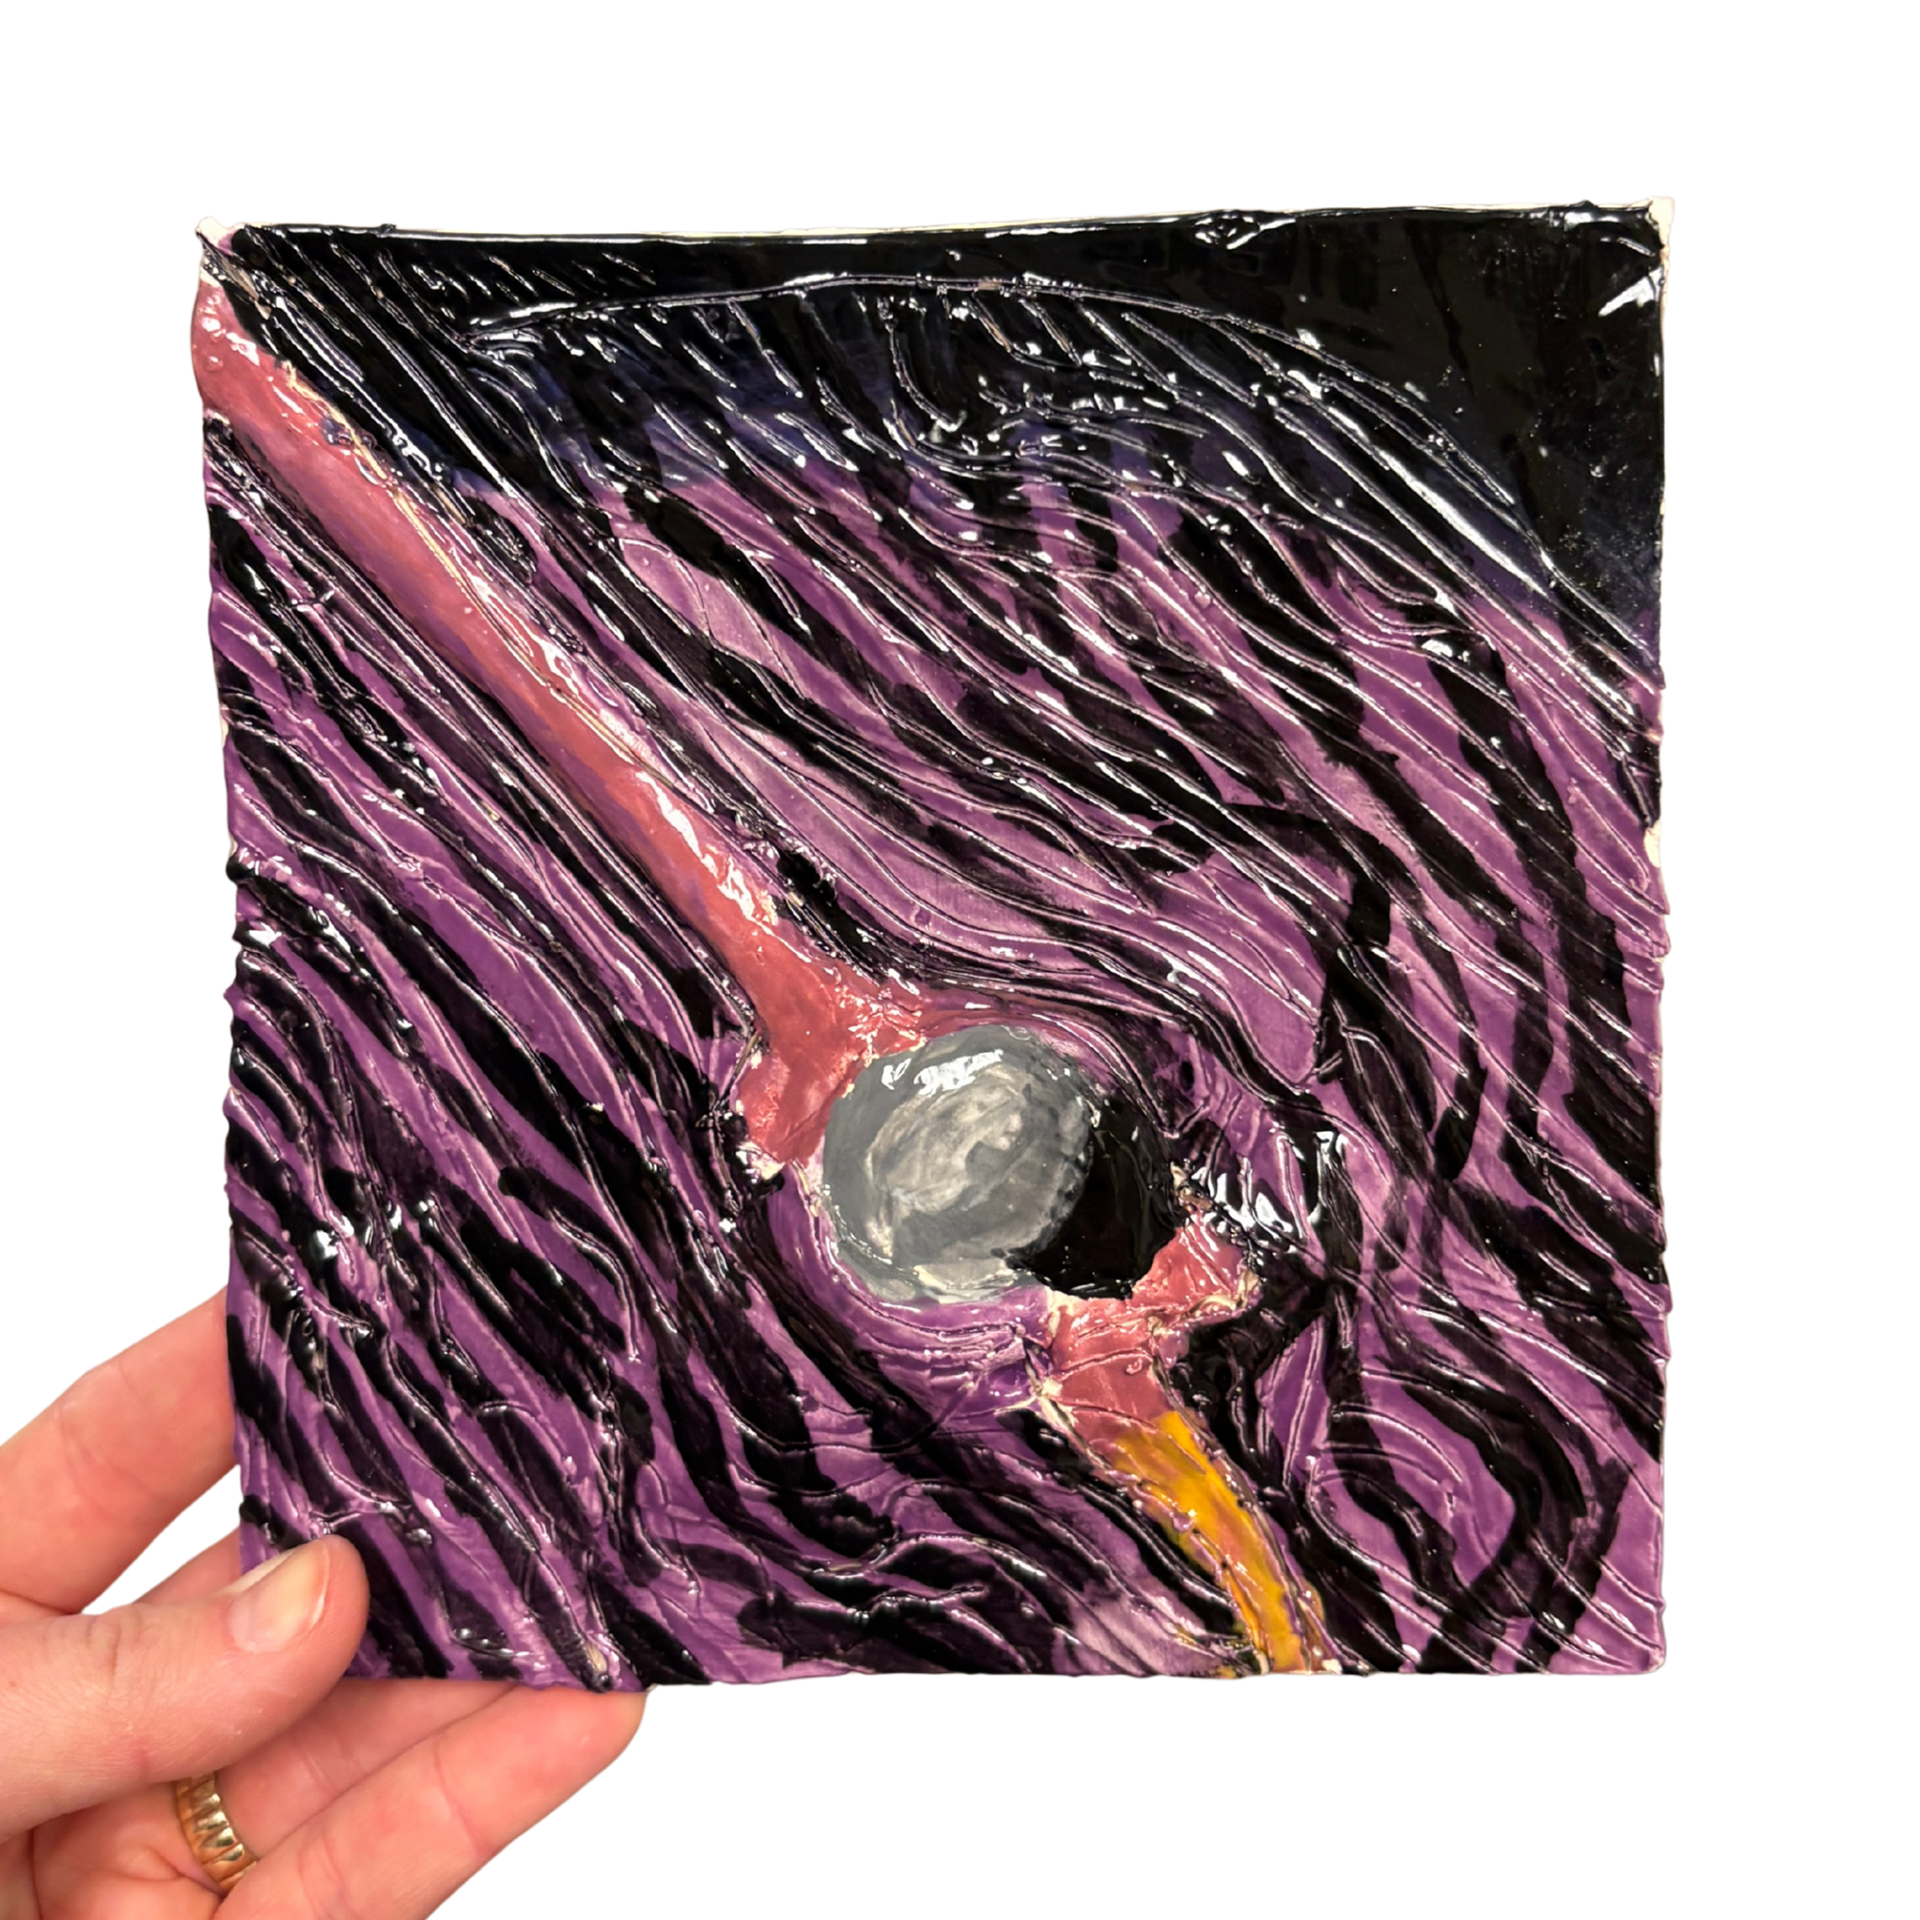
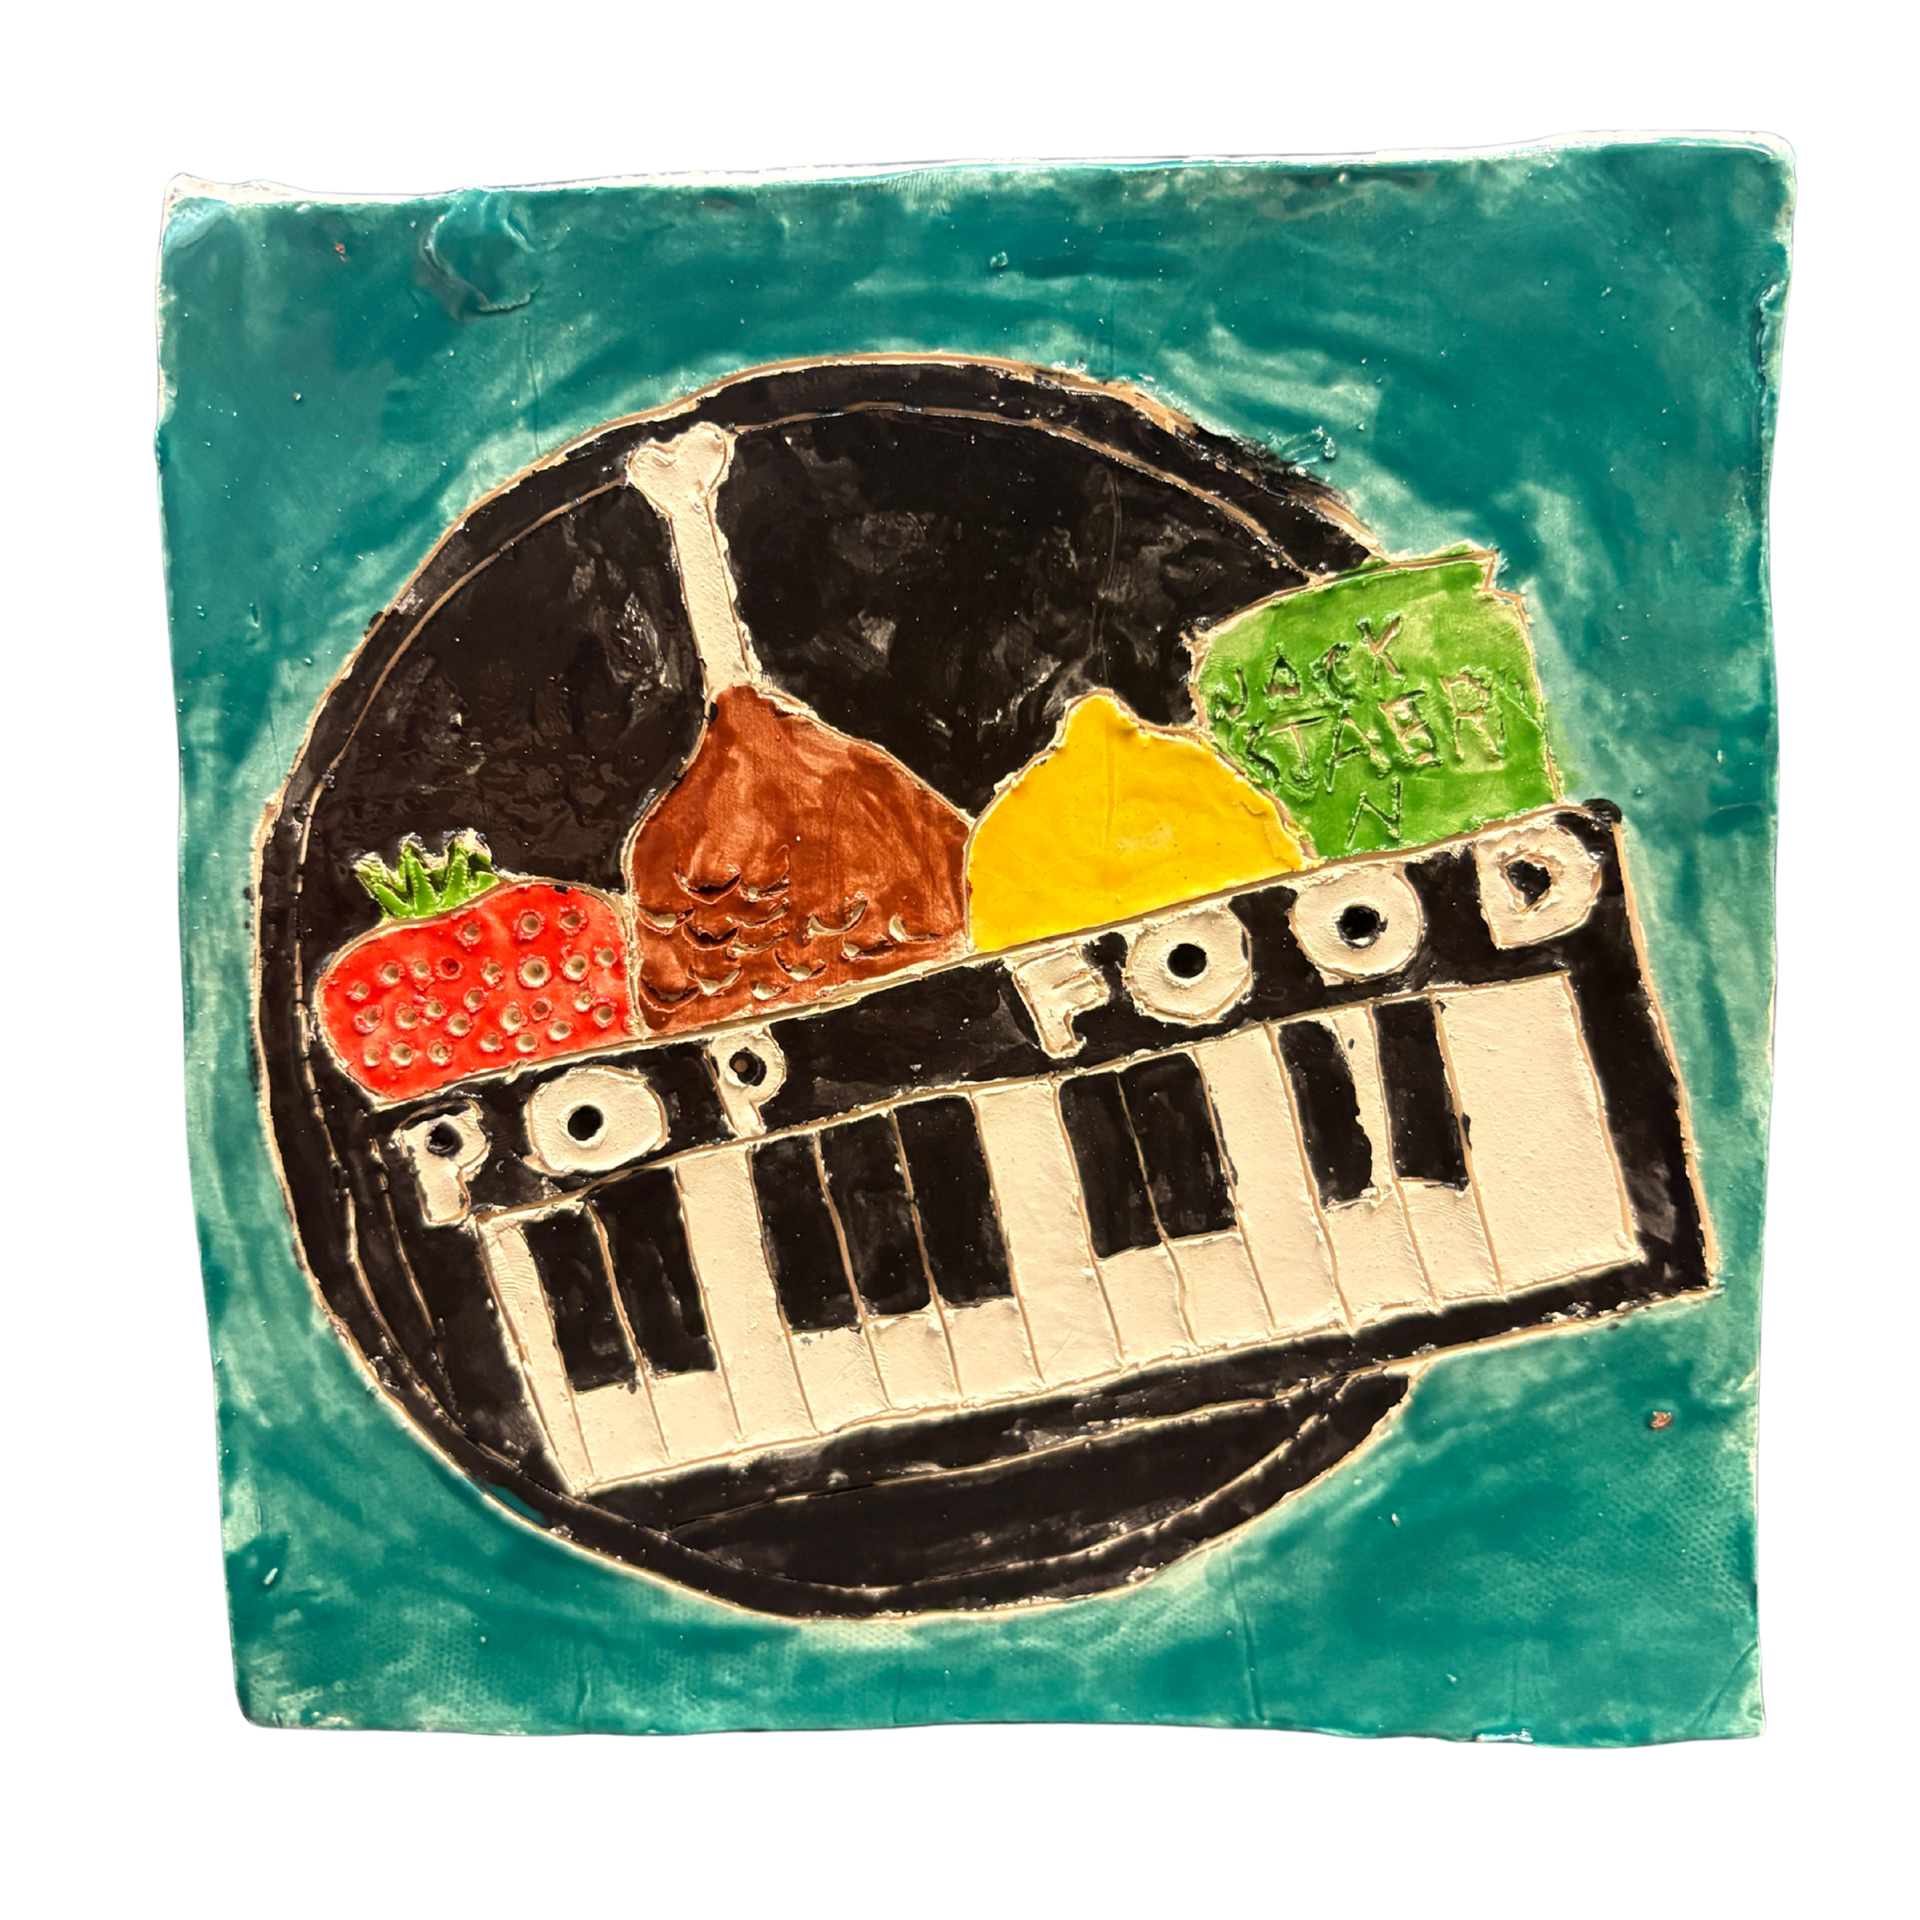
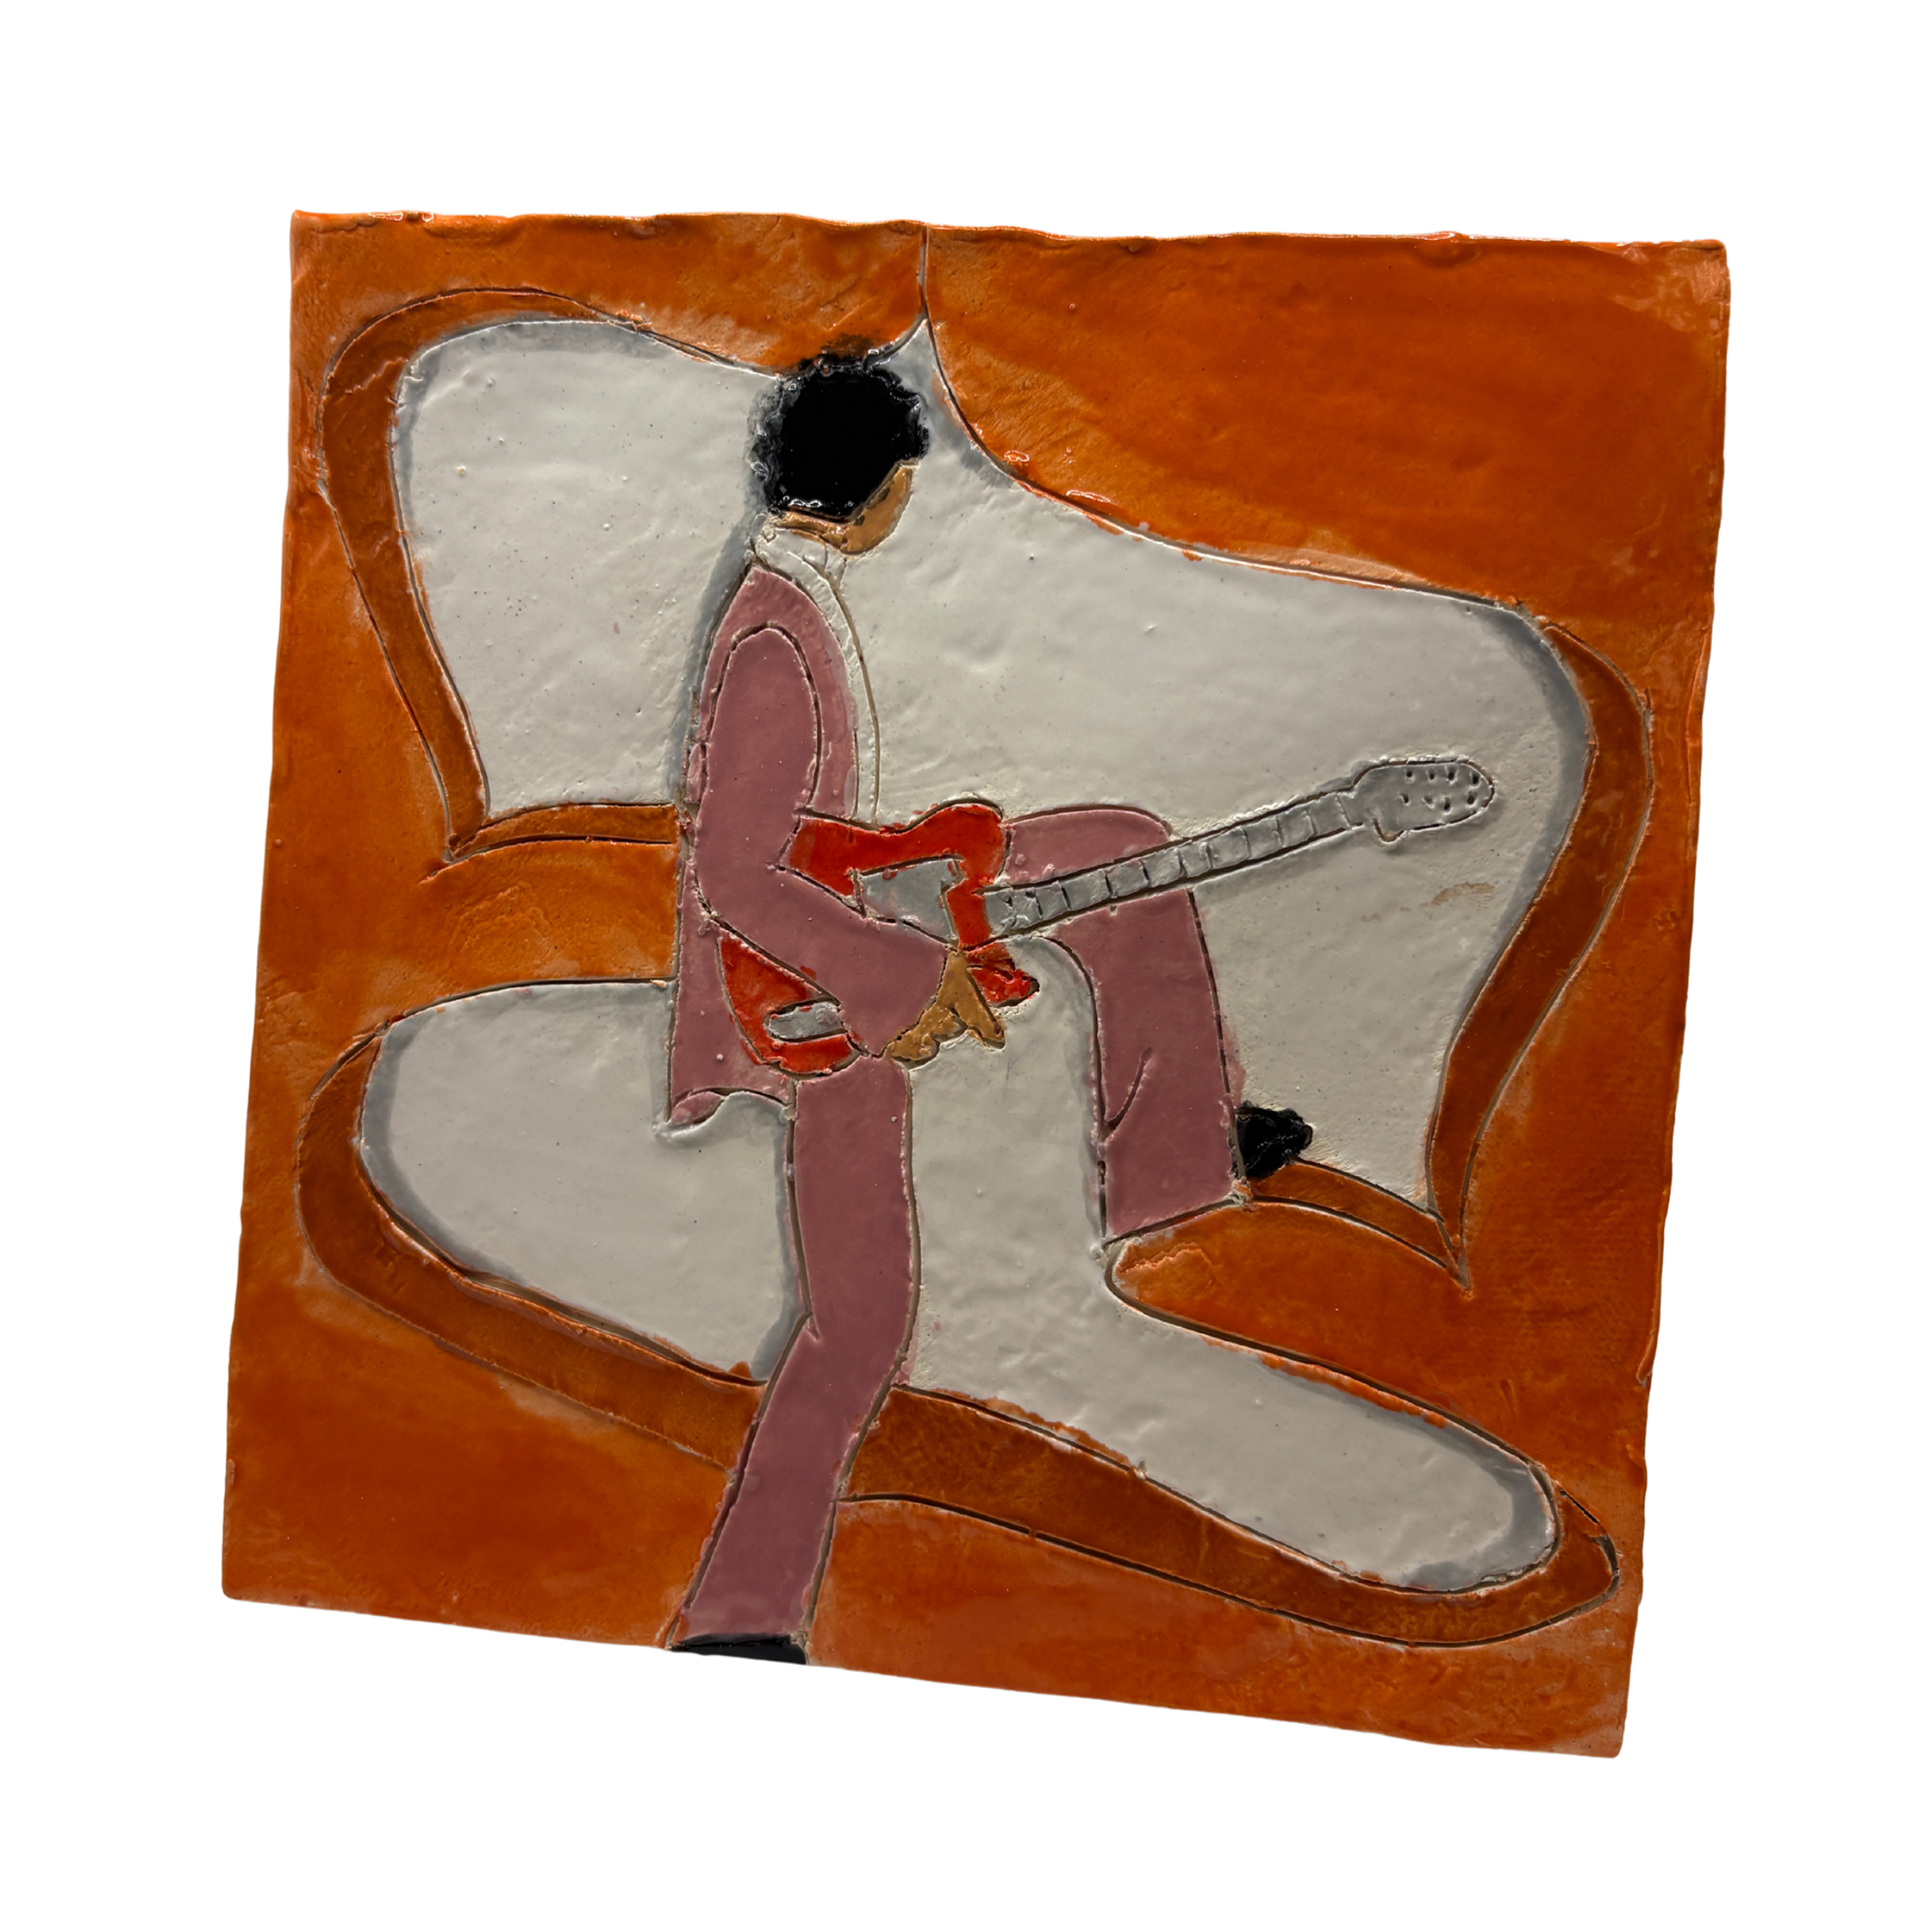
Once fired, students glaze their projects. See below for examples and feel free to reach out with any questions!